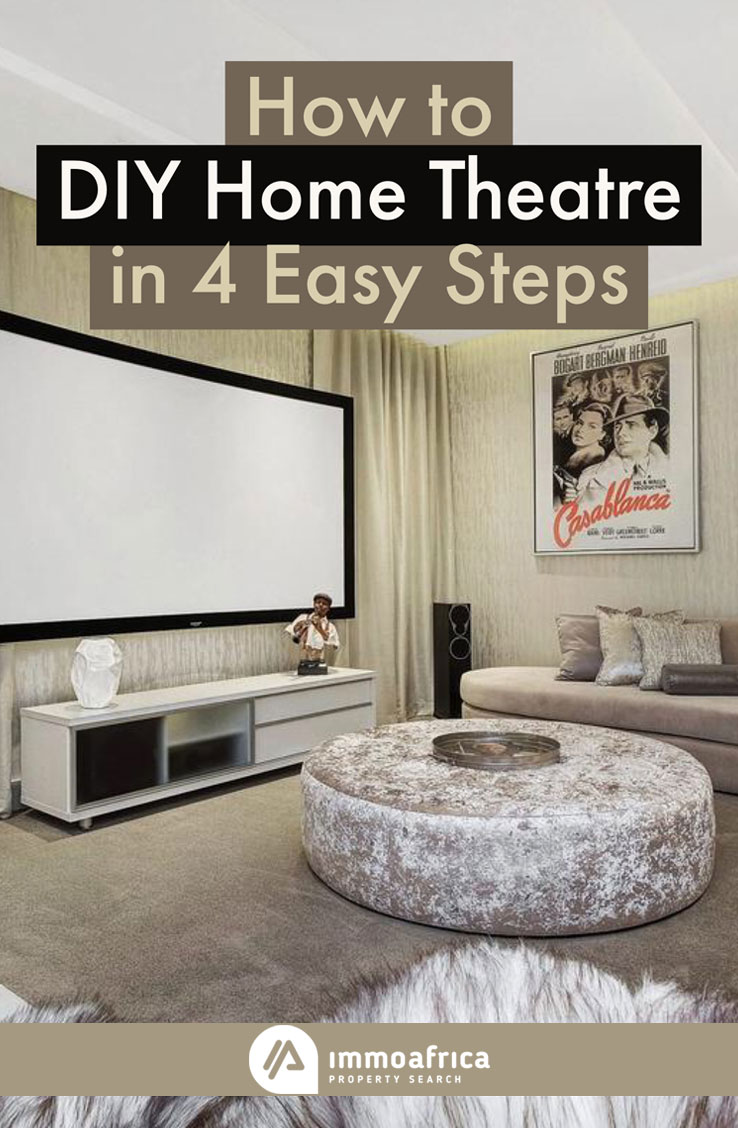
So you’re setting out to bring the excitement of an immersive film experience to your very own home.
A home theatre is the cinema enthusiast’s dream, and you’re just steps away from making it a reality!
The question is – where to begin?
Even if you are a complete noob, don’t worry, this article will go through the entire process and the different possibilities step-by-step:
1. Allocate your budget
Like with most entertainment options, the overall amount of money you spend on your home theatre can vary greatly.
Let’s just say you can even get away with just $1,000 (R12,000) if you really try, and the maximum, well, who knows!
There are just so many different variables to consider, and it depends on what exactly you want and what you have already.
For example, Amazon offers more than 500 results just for home theatre speakers.
Because of such an enormous range of options and a likely possibility of getting lost in them, the best advice to give would be the following:
- Start by writing down how much money you’re ready to part with.
- Next, break your budget down into three categories: interior, A/V, and furniture (that is, seating).
- Prioritize your budget by determining what’s most important to you – the quality of sound and video, the size of the screen, comfortable seating, overall design and feel of the room, etc.
2. Determine the layout of the room
You probably already know where exactly you’ll locate your theatre. So, if you’re going to use a spare room or the basement, the layout will depend on the existing circumstances.
However, if you’re adding on a room or taking down some walls, you can adhere to the basic recommendations for theatres:
Room shape
A rectangular room is the most logical choice; avoid square-shaped rooms because they are acoustically inadequate and tend to produce harmonic distortions.
Also, a rectangular room makes it possible to set up the seating at the best viewing distance from the screen.
If you have no choice but a square-shaped room, you can solve this problem by installing acoustic panels, so be prepared to put aside extra cash in that case.
Dimensions
If you have the freedom to determine the dimensions of your home theatre, let the height of the room guide you to achieve the so-called golden ratio of theatre design.
The rule is:
- ideal width = 1.6 x height
- ideal length = 2.6 x height
A theatre with approximate dimensions of 4×6 meters ideally suits the average ceiling height in homes – and it’s perfectly enough to seat 2 rows of 4 chairs.
How about that! Can you picture it already?
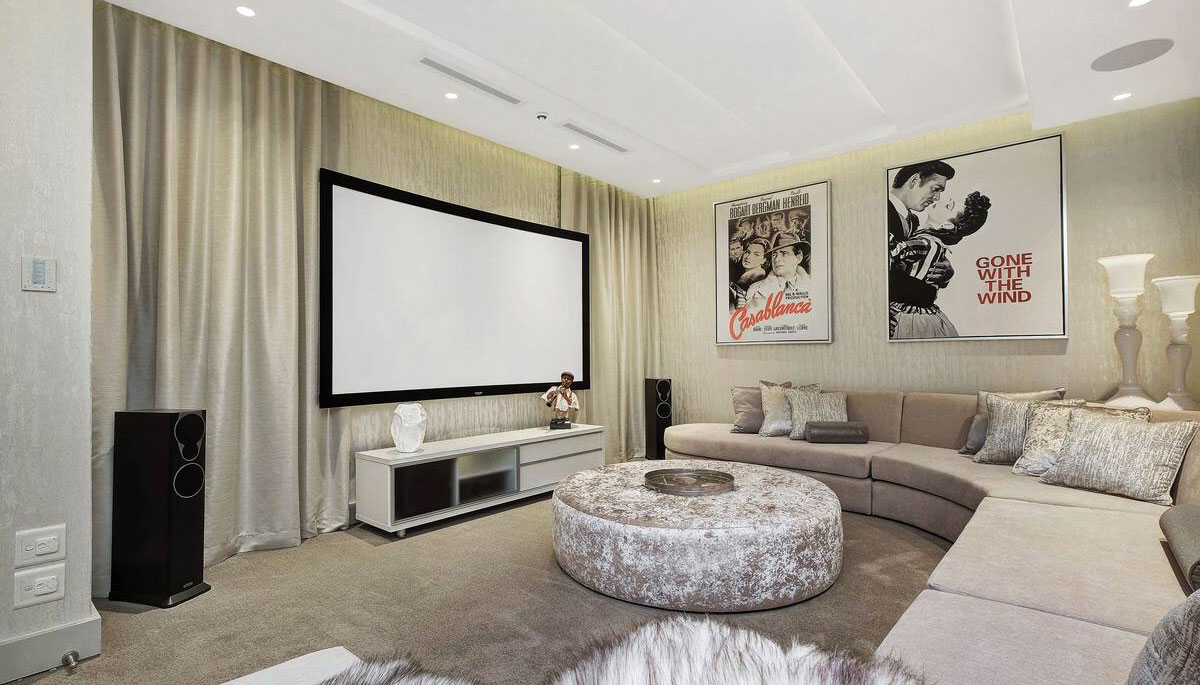
3. Set up the basic interior
Whether you’re building a new room or already have a designated area, some work will need to be done regarding walls, flooring, HVAC and lighting.
Walls
The good news is that regular drywall is perfectly fine for home theatre walls, acoustically speaking.
However, if you have concrete or concrete block walls, you’ll definitely need to install studs and drywall, or acoustic panels as your other option.
Drapes are the best way to break up large flat surfaces, and they will add that theatrical drama to your space!
Refrain from using bright colors or semi-gloss sheen, just like in commercial theatres, as they will reflect light from the screen and create a distraction.
Floor
You’ll most likely want to create a raised area for that real movie-going experience and a proper view from the back.
You can do this cheaply with pressure-treated lumber, reclaimed wood or pallets, and you’ll likely need help from a handyman to set this up, unless you’re quite handy yourself, of course.
Wall-to-wall carpet will create a cushy pad and absorb ambient sounds, so look for low-pile carpet that’s easily maintained.
HVAC system
Bear in mind that your home theatre will require integrating the appropriate HVAC system so that you can actually use it comfortably and not sit there sweating/shivering.
An appropriate air-conditioning system is also crucial to providing airflow and managing heat build-up from the A/V components – an important factor to keep in mind!
Lighting
For lighting, wall sconces will create comfortable ambient lights, and you might want to install remotely-controlled indoor LED lighting so you don’t have to scramble for the switch when the projection is over.
4. Install the Home Theatre System
Your room is all set up, and you’re finally there!
This is where the overwhelming variety kicks in and things might get very technical.
If you’re very dedicated to the quality of sound, you might have already consulted about the best A/V systems available. Take your time to choose wisely, but having the proper equipment is just a part of it.
Follow this guide to check off all the necessary components and learn how to set them up properly for the best viewing experience. You will need to simultaneously plan the seating arrangement (like in the diagram in the guide), so that you can set up the speakers and screen accordingly.
On an important note, however tempting it may be, don’t get carried away with the screen size!
Sure, you want an immerse experience, but you don’t want to be swinging your head like you’re watching a tennis match every time you watch a film. This viewing distance calculator can be of help.
That’s it, once you have everything set up, you’re ready to move in the furniture.
Pretty soon, you’ll be sitting on your cushy chairs (or couch) and feeling like you’ve got the VIP ticket to a cinema event.
If you’ve enjoyed this article, why not share it across your social media platforms, so others can benefit from it as well? Feel free to REPIN the image below: